

How to Use AI Fill to Extend and Edit Photos for Better Visuals
AI fill helps you turn one image into multiple usable layouts. This guide explains how to extend photos, fill missing areas, create cleaner crops, and prepare visuals for campaigns, product pages, and social content.
In this article
Quick checklist
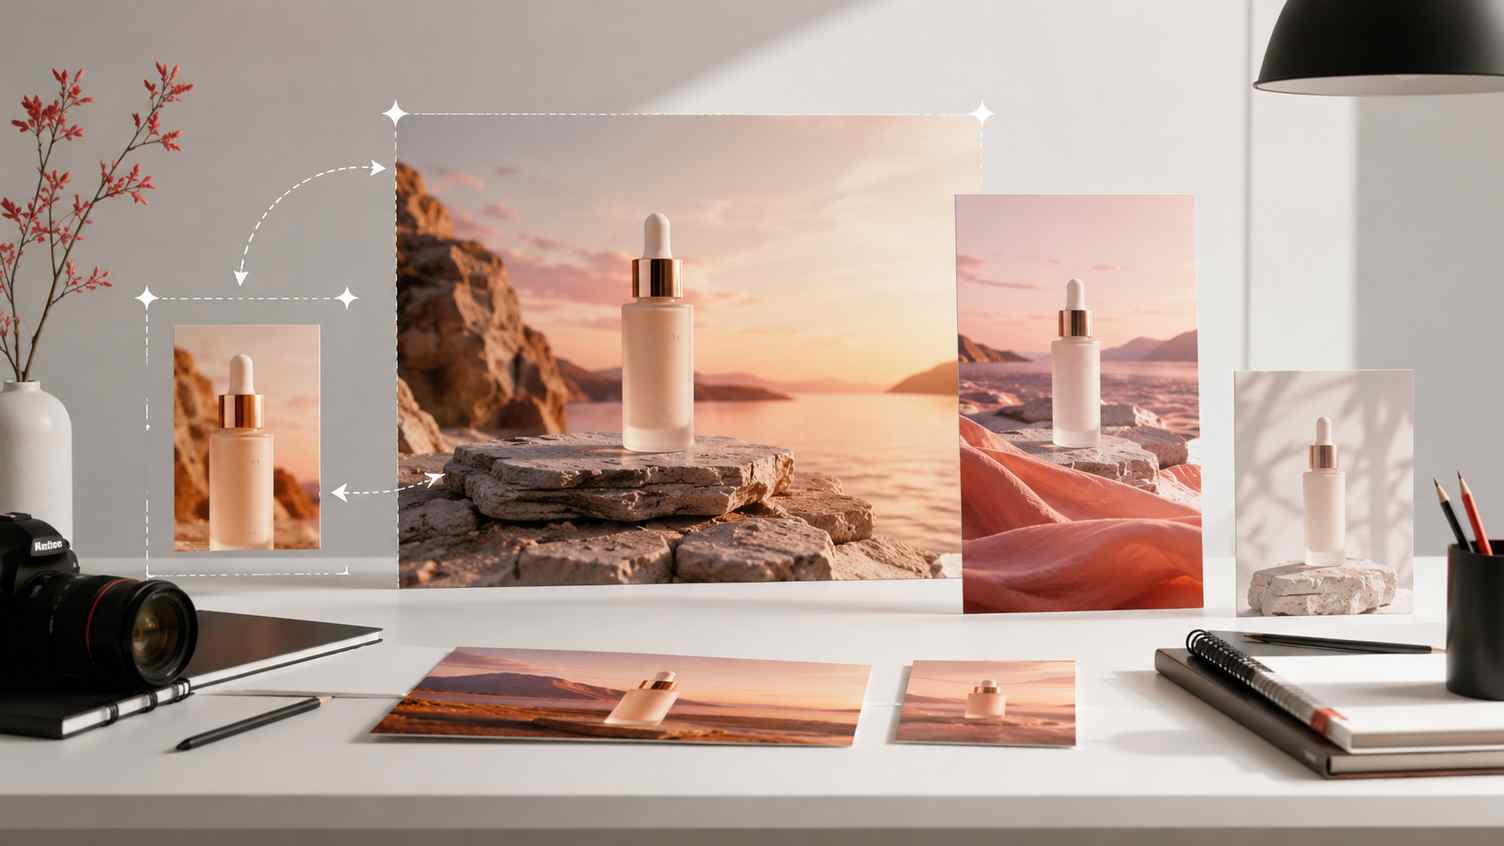
Sometimes a photo has the right subject but the wrong layout. A product image may be too tightly cropped for a banner. A portrait may not have enough empty space for a thumbnail. A campaign visual may need a wider background for a website hero section. Instead of starting over, AI fill can help extend and edit the image.
AI fill uses artificial intelligence to create or complete parts of an image. It can expand the canvas, fill missing areas, replace parts of a background, or help adapt one image into multiple formats for websites, ads, social media, and product campaigns.
What is AI fill?
AI fill is a photo editing feature that generates new image areas based on the surrounding visual context. When you extend a canvas or select an empty area, AI fill predicts what should appear there so the final image looks more complete.
This is often used for image extension, background expansion, object replacement, layout fixes, and creative image adaptation. It is especially helpful when the original photo is good but does not fit the size or composition you need.
When should you use AI fill?
AI fill is useful when you need more space, a different crop, or a cleaner composition. Common use cases include:
- Website hero images: Extend a photo into a wider layout for landing pages or blog headers.
- Social media crops: Turn one image into square, vertical, or wide formats.
- Product campaigns: Create more background space around a product for ads or banners.
- Creator thumbnails: Add breathing room around a subject for stronger composition.
- Marketing assets: Build multiple visual variations from one source image.
- Background fixes: Fill empty corners, repair awkward crops, or improve composition.
A simple AI fill workflow
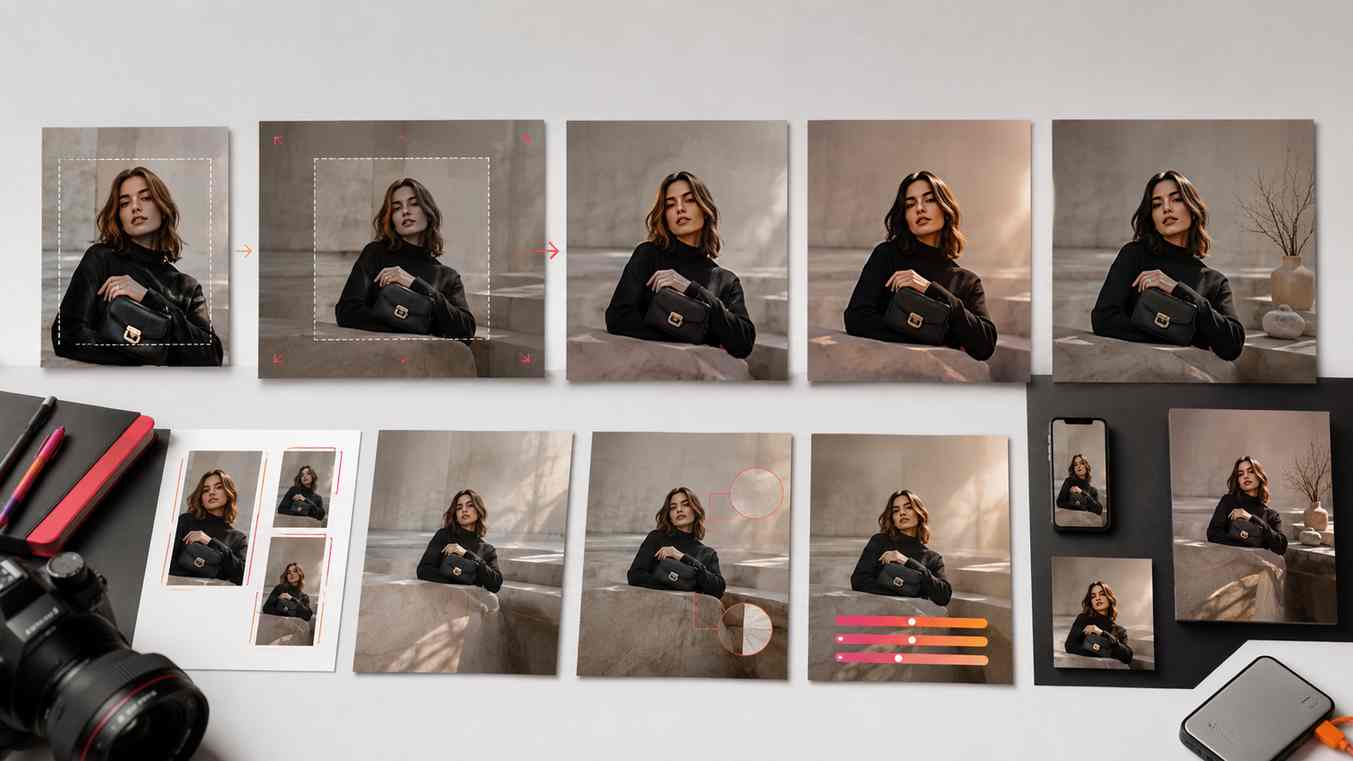
The best AI fill results come from a clear goal. Before editing, decide where the image will be used and what aspect ratio you need. A website hero image, social post, ad banner, and product card may all require different layouts.
Step 1: Choose the final format first
Start by deciding where the image will go. If it is for a website hero, you may need a wide layout. If it is for social media, you may need square or vertical space. Choosing the format first helps you extend the image in the right direction.
Step 2: Extend the canvas around the subject
Increase the canvas size while keeping the main subject in a strong position. Avoid placing the subject too close to the edge unless the composition intentionally needs that. Give the AI enough surrounding context to generate a natural extension.
Step 3: Use AI fill to complete the new space
Apply AI fill to the empty area. The generated result should match the lighting, perspective, color, texture, and depth of the original image. For product photos, the new background should support the product without distracting from it.
Step 4: Clean small artifacts
After AI fill, zoom in and check the generated areas. Look for strange patterns, broken lines, repeated textures, or unrealistic shadows. Use object removal or another small fill pass to clean anything that feels off.
Step 5: Enhance and export
Once the image layout looks natural, use AI enhancement if the photo needs better clarity, lighting, or detail. Then export in the correct format for the final destination.
Before and after: why AI fill is useful
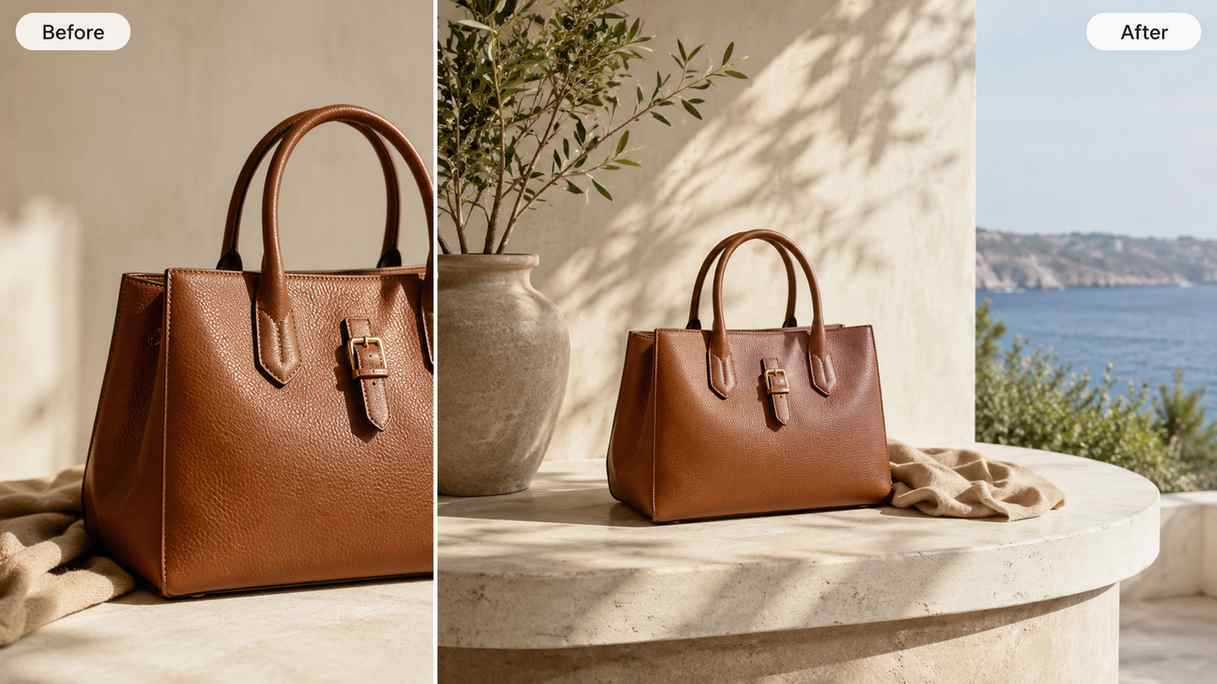
AI fill is especially useful when a good image does not fit the layout you need. Instead of cropping too much of the subject or leaving empty space, you can create more background around the image.
| Before AI fill | After AI fill |
|---|---|
| Image is too tightly cropped | Canvas has more breathing room |
| Subject does not fit a banner layout | Image can work as a hero or ad visual |
| Background ends too soon | New background area is generated naturally |
| Only one crop is usable | One source image can support multiple formats |
| Manual editing may take longer | AI fill speeds up layout adaptation |
Best layouts to create with AI fill
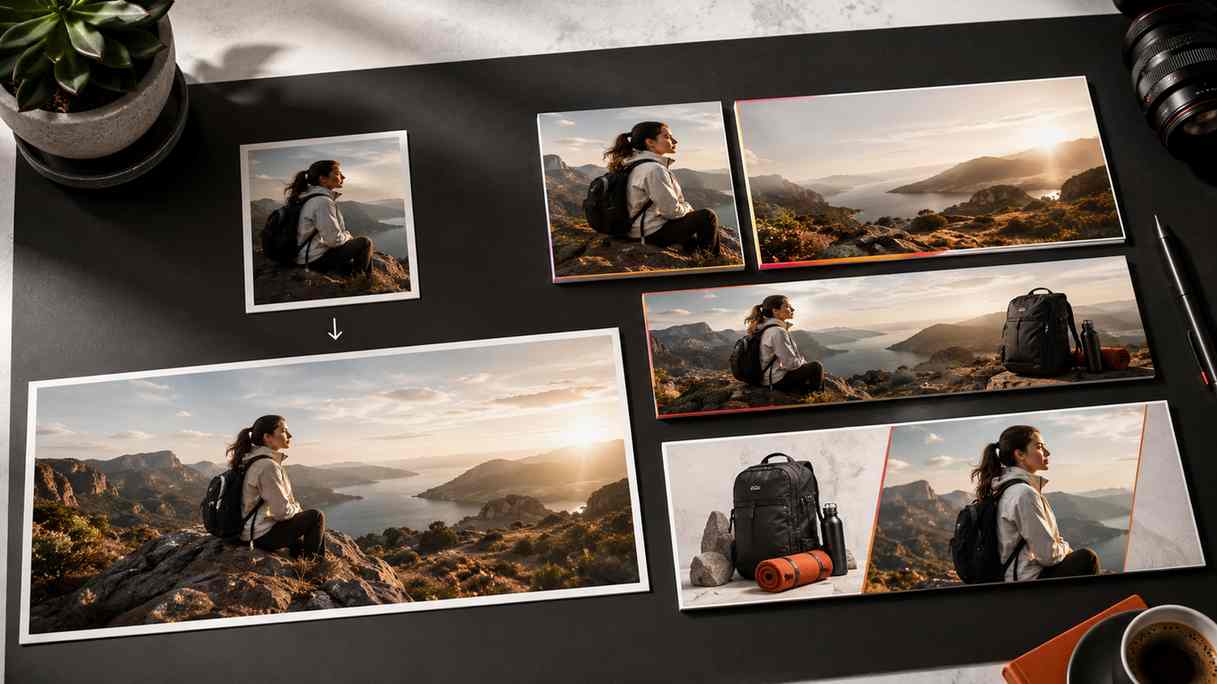
AI fill becomes more valuable when you use it to create layout variations. One image can become several polished assets for different channels.
Website hero image
A hero image often needs a wide composition with enough open space. AI fill can extend the background to the left, right, or both sides so the subject has room to breathe.
Social media post
Social platforms often require different crops. AI fill can help adapt a horizontal photo into a square or vertical visual without cutting off important parts of the image.
Ad banner
Ads may need extra negative space around a product or subject. AI fill can create more background area so the final visual feels less crowded.
Product campaign visual
For ecommerce, AI fill can help turn a simple product photo into a campaign-style image by extending the scene or creating a more polished background environment.
AI fill vs background removal
AI fill and background removal solve different problems, but they often work well together.
| Tool | Main purpose | Best use case |
|---|---|---|
| Background remover | Separates the subject from the original background | Creating transparent PNGs, product cutouts, or white-background images |
| AI fill | Generates or completes image areas | Extending backgrounds, fixing crops, and creating new layouts |
A practical workflow is to use background removal when you need a clean subject cutout, then use AI fill when you need a better background or more space around the image.
Tips for better AI fill results
- Give the AI enough context: Extend the image gradually instead of trying to generate a huge area at once.
- Keep the subject clear: Do not let the generated background compete with the main subject.
- Match lighting and perspective: The new area should feel like it belongs to the original photo.
- Use simple backgrounds for product visuals: Clean backgrounds usually work better for ecommerce.
- Check edges carefully: Look where original and generated areas meet.
- Review at full size: Small previews can hide artifacts.
Common mistakes to avoid
AI fill is powerful, but the result can look unnatural if it is used without review. Avoid these mistakes:
- Extending an image too far without enough original context.
- Creating a background that distracts from the product or subject.
- Ignoring strange textures, broken patterns, or repeated shapes.
- Using generated backgrounds that change the meaning of a product photo.
- Exporting before checking the final layout on desktop and mobile.
How PixEdit helps with AI fill workflows
PixEdit gives you focused AI tools for practical image editing workflows. You can use AI fill to extend or complete images, background removal to isolate subjects, object removal to clean distractions, AI enhancement to improve clarity, and image upscaling for larger final exports.
This makes PixEdit useful for ecommerce sellers, creators, marketers, designers, and website owners who need to turn one image into many polished visual assets.
Final thoughts
AI fill is best used as a layout and composition tool. It helps you fix awkward crops, extend backgrounds, create more space around a subject, and prepare images for multiple destinations.
The strongest results still come from good judgment: choose the right format, keep the subject clear, review generated areas carefully, and export the final image for the platform where it will be used.
PixEdit workflow