

How to Edit Photos for Social Media with AI
Social media images need to be clear, fast to understand, and ready for different formats. This guide explains how AI photo editing helps creators, brands, and marketers prepare stronger visuals with less manual work.
In this article
Quick checklist
Social media images have to work quickly. People scroll fast, screens are small, and your visual only has a short moment to communicate the subject. A photo that looks acceptable in your camera roll may feel too dark, cluttered, soft, or unfocused once it appears in a feed, story, thumbnail, or ad.
AI photo editing helps you prepare social media visuals faster by removing distracting backgrounds, cleaning unwanted objects, improving image quality, creating subject cutouts, extending layouts, and exporting images for different platforms.
Why social media images need a different editing workflow
Social media is not the same as a product catalog or a printed portfolio. A good social image needs to be clear at a glance. The subject should stand out, the composition should be easy to read, and the final image should fit the format where it will be posted.
This is why editing for social media is often about clarity. You do not always need heavy effects. You usually need a cleaner subject, better lighting, fewer distractions, sharper details, and a layout that works on mobile.
What can AI photo editing do for social media?
AI editing can speed up several common tasks for creators, brands, and marketers:
- Remove backgrounds: Create clean cutouts for thumbnails, posts, and promotional graphics.
- Remove unwanted objects: Clean clutter, distractions, messy tables, background people, or visual noise.
- Enhance image quality: Improve brightness, clarity, sharpness, and contrast.
- Upscale images: Prepare sharper images for larger exports or reused assets.
- Use AI fill: Extend images for vertical stories, wide banners, or better crops.
- Create reusable assets: Turn one subject into multiple layouts for content campaigns.
A simple AI workflow for social media photos
The best social media editing workflow starts with the platform and format. A square post, vertical story, thumbnail, and ad creative may all need a different layout from the same source image.
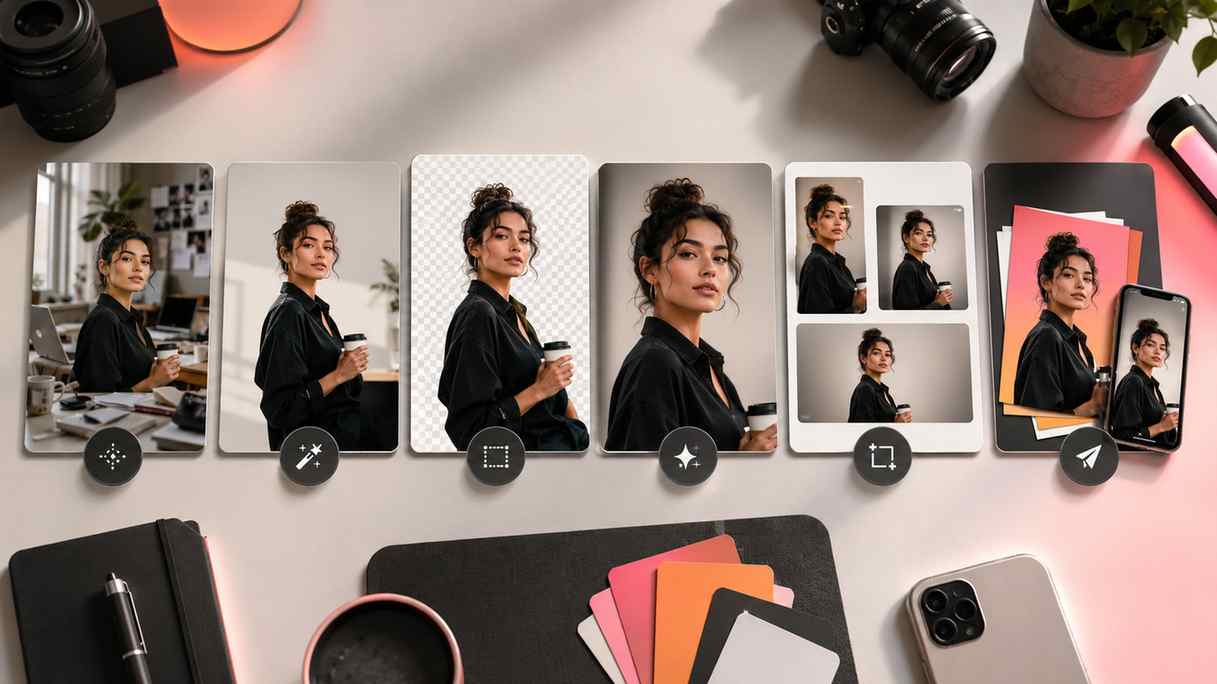
Step 1: Choose the goal of the image
Before editing, decide what the image needs to do. Is it a product post, creator thumbnail, story visual, ad creative, profile image, or campaign teaser? The goal affects how much space you need, how clear the subject should be, and what type of export works best.
Step 2: Remove distractions
Look for anything that pulls attention away from the main subject. This may include background clutter, objects on a table, random people, cables, signs, or messy visual details. Use object removal to clean the image before applying final enhancement.
Step 3: Focus the subject
If the background is too busy, use background removal to isolate the subject. A clean cutout can be placed on a simple background, a branded design, or a campaign layout. This is especially useful for thumbnails, creator portraits, product posts, and ads.
Step 4: Improve clarity and lighting
Use AI enhancement to make the image brighter, sharper, and easier to read on mobile. Avoid over-editing. The image should look polished, but still natural enough to feel trustworthy.
Step 5: Adapt the image for each format
A single image may need multiple crops. Use AI fill when you need more background space for vertical stories, wide banners, or square posts. Export each version based on where it will be used.
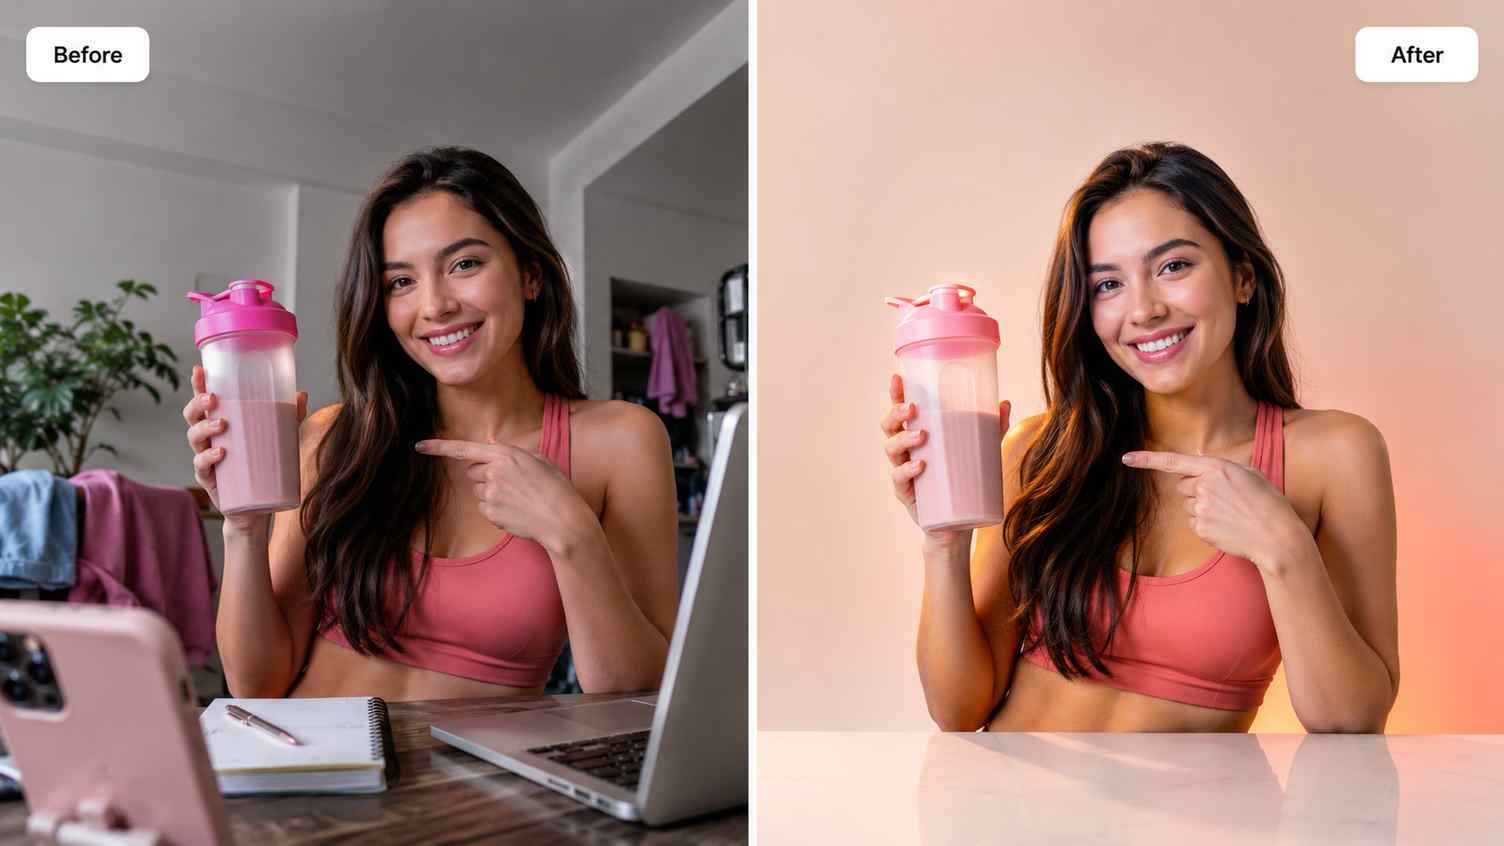
Before and after: what makes a social image stronger?
A strong social image usually has a clear subject, simple composition, good contrast, and enough detail to work on small screens. AI editing helps remove the small issues that make a photo feel unfinished.
| Before editing | After editing |
|---|---|
| Background feels cluttered | Subject becomes easier to notice |
| Photo looks dark or flat | Image feels brighter and clearer |
| Small distractions compete for attention | Visual feels cleaner and more intentional |
| Image may not fit the final format | Layout can be adapted for posts, stories, or ads |
| Details may look soft on mobile | Final image can look sharper and more polished |
How to adapt one image into multiple social formats
One edited image can support many content placements. This is useful when you want a consistent campaign look without creating everything from scratch.
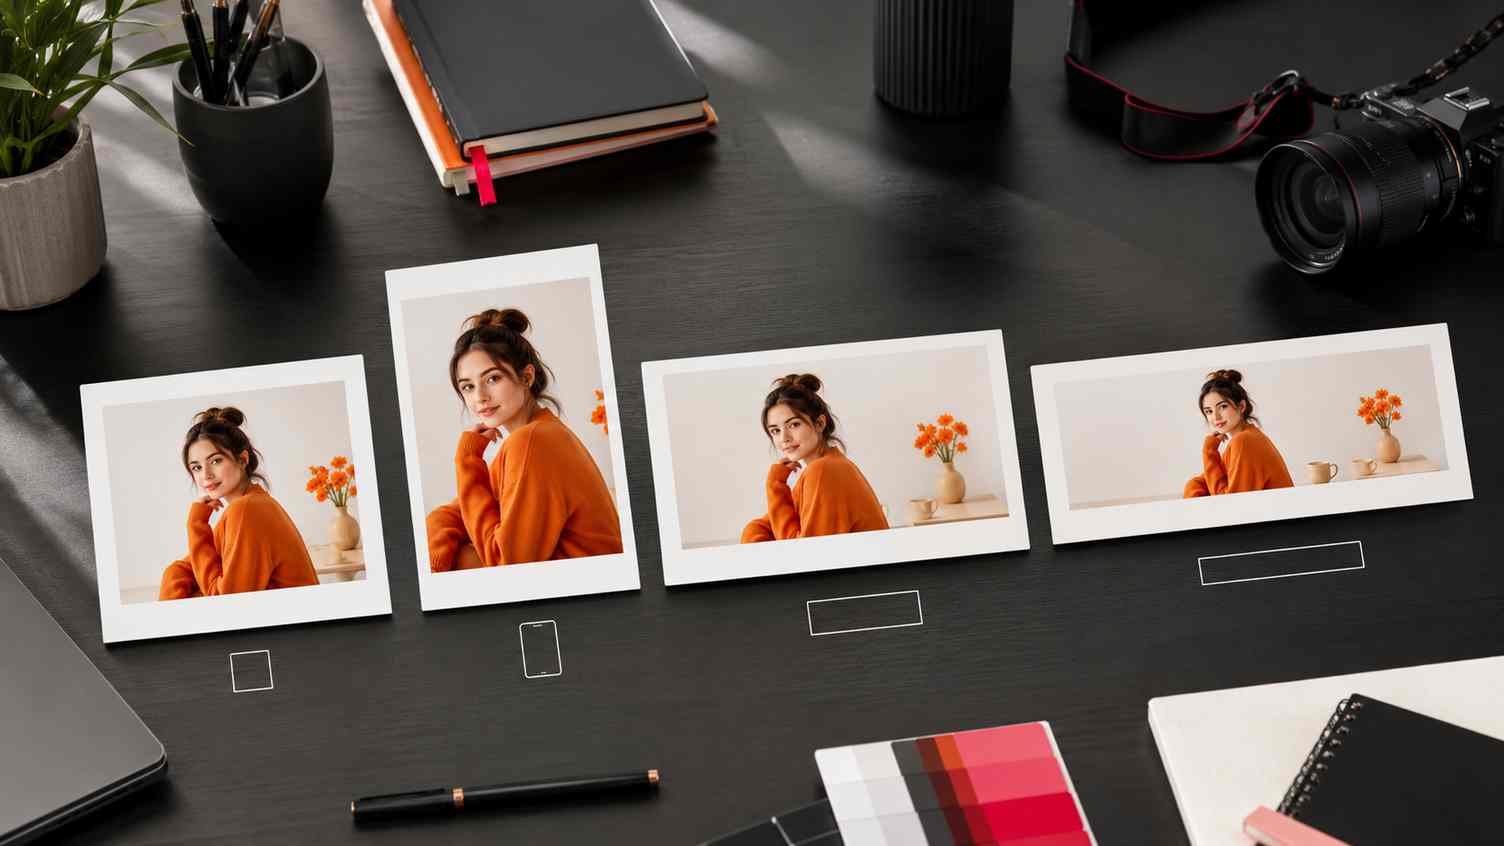
Square feed post
Square posts work well when the subject is centered and easy to understand. Keep the layout clean and avoid placing important details too close to the edges.
Vertical story or reel cover
Vertical formats need more height. If the original photo is too tight, AI fill can extend the background so the subject has enough breathing room.
Thumbnail
Thumbnails need strong subject focus. Background removal, object cleanup, and image enhancement can help the subject stand out more clearly.
Ad creative
Ads often need more space around the product or person. AI fill can help create a cleaner layout, while enhancement improves polish and readability.
Best practices for social media image editing
- Keep one clear subject: Do not make viewers guess what the image is about.
- Reduce background noise: Remove objects or backgrounds that distract from the main idea.
- Check mobile readability: Review the image at a small size before posting.
- Use consistent visual style: Keep lighting, colors, and composition consistent across a campaign.
- Avoid over-enhancement: Too much sharpness or contrast can make the image look artificial.
- Export for the platform: Different placements may need different aspect ratios and file sizes.
Common mistakes to avoid
Social images often fail because they are too busy or unclear. Avoid these mistakes:
- Using a photo with too many competing subjects.
- Leaving clutter in the background when the subject should be the focus.
- Enhancing the image before cleaning distractions.
- Cropping too tightly for stories, thumbnails, or ads.
- Using one export for every platform without checking the layout.
- Making edits so strong that the image no longer feels natural.
Recommended export formats for social media
| Format | Best for | Notes |
|---|---|---|
| JPG | Most social posts and ads | Good quality with practical file size |
| PNG | Transparent cutouts, thumbnails, design assets | Best when transparency or sharp edges are needed |
| WebP | Website and content workflows | Useful for web optimization when supported |
How PixEdit helps create better social media images
PixEdit gives you focused AI tools for common social media editing workflows. You can use background removal to create subject cutouts, object removal to clean distractions, AI enhancement to improve clarity, image upscaling to prepare sharper exports, and AI fill to adapt images into different layouts.
This makes PixEdit useful for creators, ecommerce sellers, marketers, social media managers, small businesses, and anyone who needs cleaner visuals without spending too much time on manual editing.
Final thoughts
Editing photos for social media is not about making every image look heavily designed. It is about helping people understand the visual faster. Clean the distractions, focus the subject, improve clarity, adapt the layout, and export for the right placement.
With the right AI editing workflow, one photo can become a polished post, story, thumbnail, ad, or campaign visual.
PixEdit workflow