

How to Enhance Photo Quality with AI for Sharper, Cleaner Images
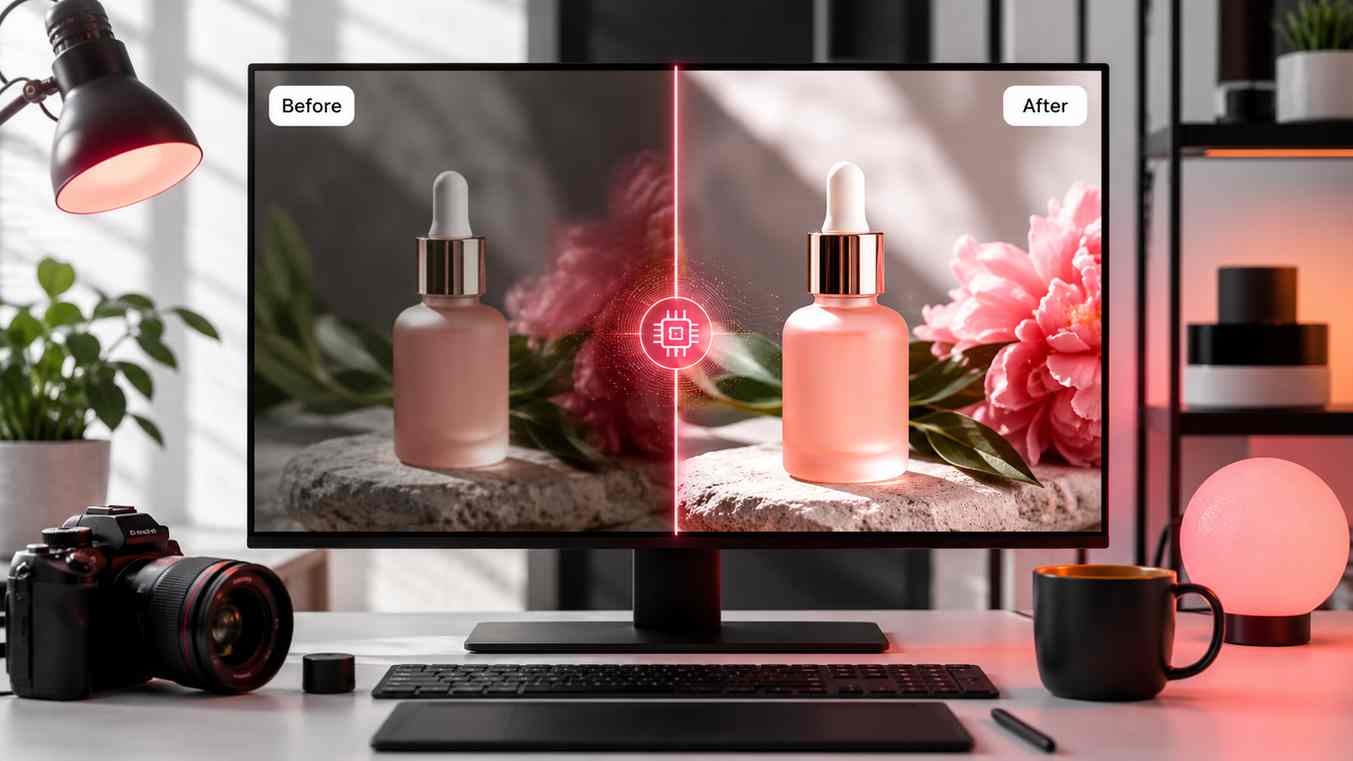
AI image enhancement can turn a flat or low-detail photo into a cleaner, sharper, and more publish-ready visual. This guide explains when to enhance images, what to check, and how to keep edits realistic.
In this article
Quick checklist
Not every photo needs a full redesign. Sometimes the image already has the right subject, composition, and purpose, but it looks dull, soft, dark, noisy, or not polished enough to publish. AI image enhancement helps improve photo quality faster by adjusting clarity, brightness, sharpness, color, and detail.
For ecommerce sellers, creators, marketers, and website owners, image quality can affect how professional a brand feels. A sharper product photo can look more trustworthy. A cleaner social post can be easier to understand on mobile. A brighter marketing visual can feel more ready for ads, landing pages, and campaigns.
What is an AI image enhancer?
An AI image enhancer is a photo editing tool that improves the visual quality of an image using artificial intelligence. It can help make a photo clearer, brighter, sharper, and more balanced without requiring manual editing for every setting.
Instead of adjusting exposure, contrast, sharpness, and color one by one, AI enhancement gives you a faster starting point. The best result still needs human review, especially when the image is used for products, portraits, or commercial visuals.
When should you enhance a photo?
AI enhancement is useful when the image is good but not quite ready to publish. Common situations include:
- Dull product photos: The product is visible, but the image lacks clarity or polish.
- Low-contrast images: The subject does not stand out enough from the background.
- Soft or slightly blurry photos: The image needs more visible detail.
- Dark photos: The subject needs better brightness and balance.
- Social media images: The visual needs to look clearer on small mobile screens.
- Marketing assets: The image needs a cleaner, more professional finish before export.
A simple AI photo enhancement workflow
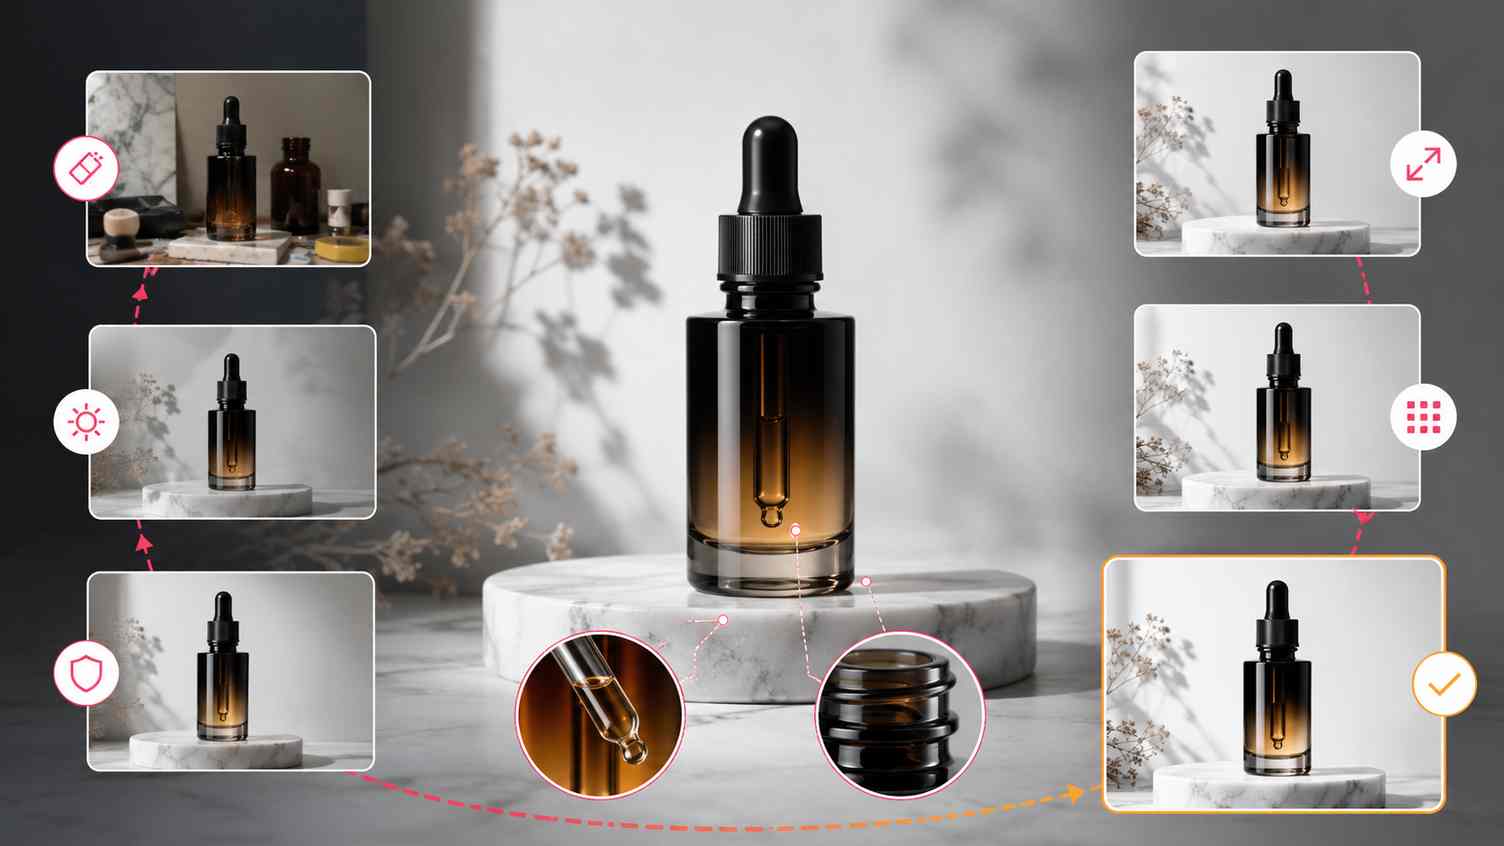
Image enhancement works best when it is part of a complete workflow. If the image has distractions, cleanup should usually happen before enhancement.
Step 1: Start with the strongest source image
Choose the clearest version of the photo you have. AI enhancement can improve many details, but it works better when the original image is not extremely blurry, tiny, or heavily compressed. A good source image gives the AI more real detail to preserve.
Step 2: Remove distractions first
If the photo has background clutter, dust, unwanted objects, or messy details, clean those before enhancing. Enhancing too early can make distractions sharper too. For product photos, this may mean using object removal or background removal before the final enhancement step.
Step 3: Enhance lighting and clarity
Use AI enhancement to improve brightness, contrast, sharpness, and overall clarity. The goal is to make the image easier to read, not to make it look artificial. A good enhanced image should still feel like the same photo, just cleaner and more polished.
Step 4: Review color accuracy
This is especially important for ecommerce. If you sell a product, the enhanced image should not change the real color, material, or texture. Check skin tones for portraits, fabric color for clothing, and surface texture for products.
Step 5: Upscale only when needed
If you need a larger export for a website hero, ad, catalog, or presentation, use image upscaling after the image looks clean. Enhancement improves the look. Upscaling increases the size and helps prepare the image for larger placements.
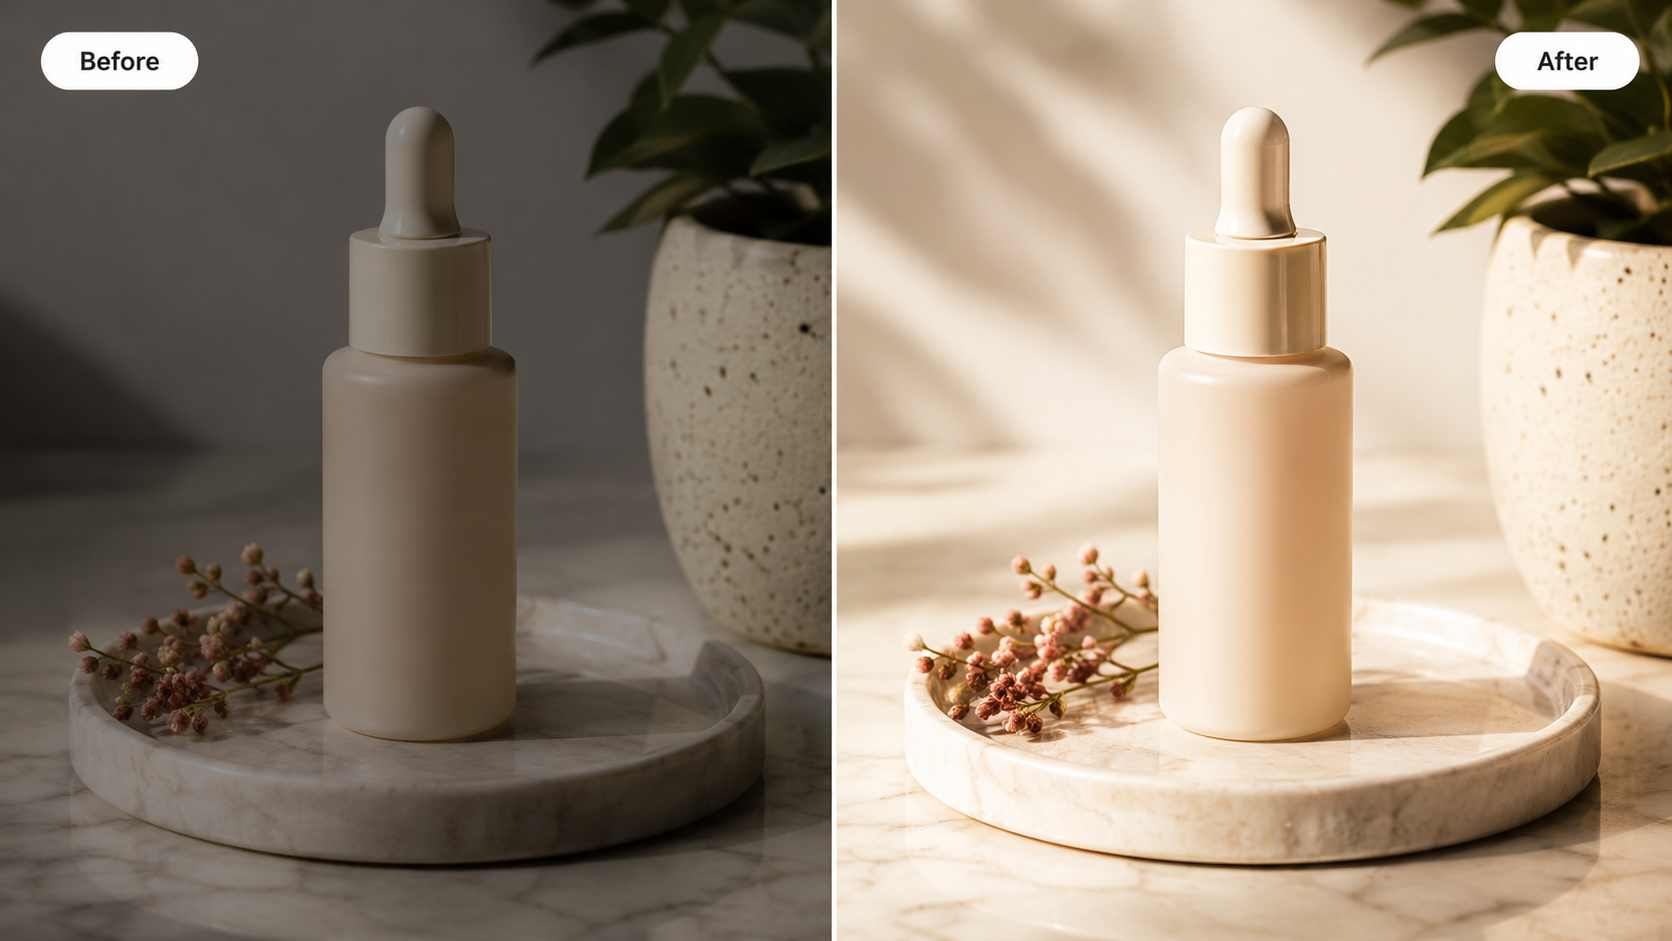
Before and after: what AI enhancement improves
The best AI enhancement is often subtle. It should make the photo look cleaner, sharper, and more usable without making viewers feel like the image was heavily edited.
| Before enhancement | After enhancement |
|---|---|
| Photo looks dull or flat | Image has better contrast and presence |
| Subject lacks detail | Important edges and textures look clearer |
| Lighting feels too dark or uneven | Brightness and balance are improved |
| Image feels unfinished for ecommerce | Product looks more polished and store-ready |
| Photo may not stand out on mobile | Visual is easier to understand quickly |
AI enhancement vs image upscaling
AI image enhancement and image upscaling are related, but they are not the same thing.
| Tool | Main purpose | Best use case |
|---|---|---|
| AI image enhancer | Improve clarity, lighting, contrast, and detail | Making a photo look cleaner and more polished |
| Image upscaler | Increase image resolution and output size | Preparing a sharper image for larger placements |
In many workflows, you should enhance first, then upscale. This helps clean the image before creating a larger version.
How to enhance ecommerce product photos
Product images need to look clean, but they also need to stay accurate. When enhancing product photos, focus on clarity and lighting rather than dramatic style changes.
- Keep product colors close to the real item.
- Preserve texture, material, and important product details.
- Remove dust or clutter before enhancing.
- Use a clean background when the product needs to stand out.
- Check the image in the same size used on your product page.
A useful PixEdit workflow is to start with background removal for a cleaner product cutout, use object removal to clean small distractions, then apply AI enhancement before exporting.
How to enhance social media images
Social media visuals are often viewed quickly on small screens. That means the subject needs to be clear immediately. AI enhancement can help brighten the image, sharpen the subject, and make the visual easier to understand.
For creator content, avoid over-editing. A natural-looking image usually performs better than one that feels too artificial. Use enhancement to support the subject, not to completely change the image.
Common AI enhancement mistakes
AI enhancement can improve photos quickly, but these mistakes can make the final image look worse:
- Over-sharpening: Too much sharpness can make skin, product texture, or edges look harsh.
- Changing product colors: Ecommerce photos should represent the real item accurately.
- Enhancing before cleanup: Dust, clutter, and unwanted objects may become more visible.
- Using a tiny source image: Very small or compressed images give the AI less detail to work with.
- Skipping final review: Always zoom in and check details before publishing.
Best export formats after enhancement
After enhancing an image, export based on where the image will be used.
| Format | Best for | Notes |
|---|---|---|
| JPG | Product pages, blog images, marketing visuals | Good balance between quality and file size |
| PNG | Transparent images and design assets | Best when transparency is required |
| WebP | Modern website images | Often smaller while keeping good visual quality |
How PixEdit helps improve image quality
PixEdit gives you focused AI tools for creating cleaner visuals. You can use AI enhancement to improve clarity, image upscaling to prepare larger exports, background removal to isolate subjects, and object removal to clean distractions before the final edit.
This makes PixEdit useful for ecommerce product images, creator content, social media posts, website visuals, ads, and marketing campaigns. Instead of spending time on repetitive manual adjustments, you can move from raw image to polished asset faster.
Final thoughts
AI image enhancement is most useful when it improves a photo without making it look fake. Start with a clear source image, clean distractions first, enhance with a realistic goal, check important details, and export the right format for your destination.
A better image does not always need heavy editing. Sometimes it only needs cleaner lighting, sharper detail, and a more polished finish.
PixEdit workflow