

How to Upscale Images with AI Without Losing Quality
AI image upscaling helps turn small or low-resolution images into larger, cleaner assets for websites, product pages, social posts, ads, and presentations. This guide explains when to upscale, how to review results, and how to export the right format.
In this article
Quick checklist
Small images are not always ready for modern websites, ecommerce pages, ads, or social media. A photo may look fine in a small preview, but once you place it in a hero section, product gallery, ad creative, or presentation, it can become soft, pixelated, or unclear.
AI image upscaling helps increase image resolution while trying to preserve and improve visible detail. It is useful when you need a larger, sharper export from an existing image without starting from a new photoshoot.
What is an AI image upscaler?
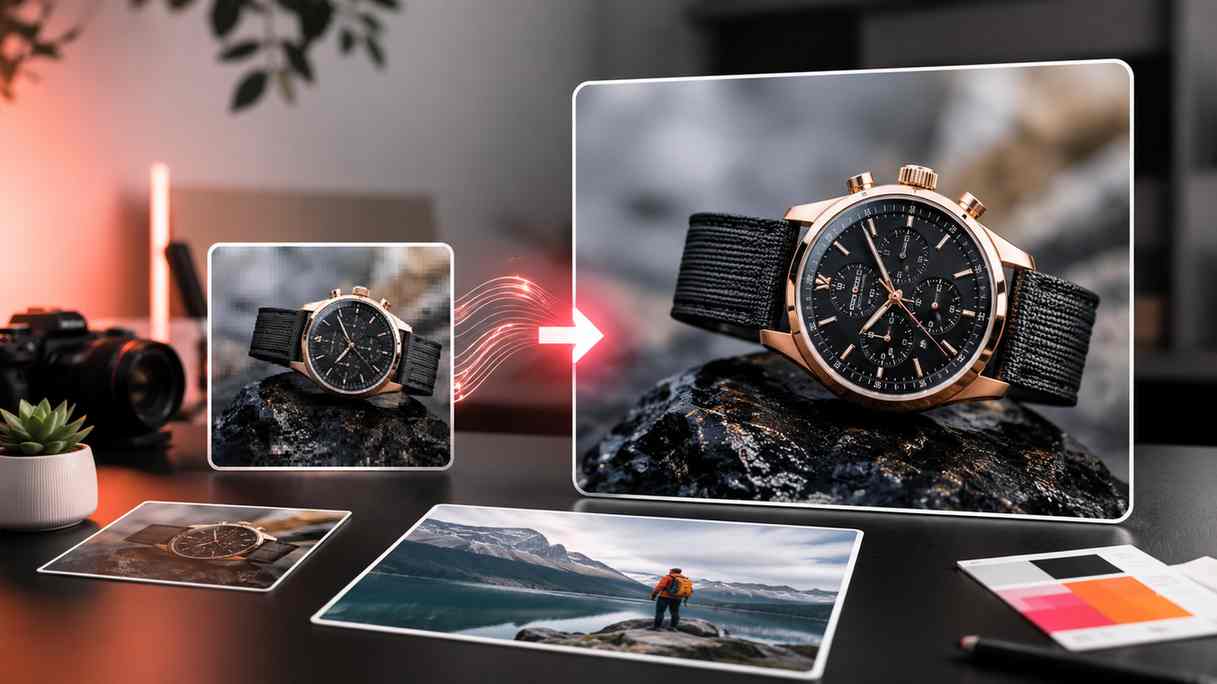
An AI image upscaler is a tool that increases the size and resolution of an image using artificial intelligence. Instead of simply stretching pixels, AI upscaling analyzes the image and attempts to rebuild details so the larger version looks cleaner and sharper.
This can be helpful for product photos, creator images, website visuals, social media content, marketing assets, real estate photos, and older images that need a larger export.
When should you upscale an image?
AI upscaling is useful when the image is too small for the place where you want to use it. Common situations include:
- Website hero images: A small image may look blurry when stretched across a wide section.
- Product pages: Product photos need enough detail for zoom, galleries, and marketplace previews.
- Social media posts: A sharper image can look better on mobile feeds and thumbnails.
- Ads and banners: Campaign visuals often need multiple sizes from one source image.
- Presentations: Low-resolution screenshots or photos can look weak on large slides.
- Print drafts: Higher resolution can help when preparing visual mockups or simple print layouts.
What AI upscaling can and cannot fix
AI upscaling can improve many images, but it is not magic. It works best when the source image already has useful detail. If an image is extremely blurry, heavily compressed, very dark, or too tiny, the upscaled result may still have limits.
| AI upscaling can help with | AI upscaling may struggle with |
|---|---|
| Small but clear images | Extremely blurry images |
| Product photos that need larger exports | Very compressed images with heavy artifacts |
| Website and marketing visuals | Images with important details hidden in darkness |
| Social media images that need sharper previews | Photos where the subject is already unclear |
| Older images that need a cleaner version | Text-heavy images that must stay perfectly readable |
A simple workflow to upscale images with AI
The best results usually come from preparing the image before upscaling. If the image has dust, clutter, bad lighting, or a distracting background, those issues may become more visible after the image gets larger.
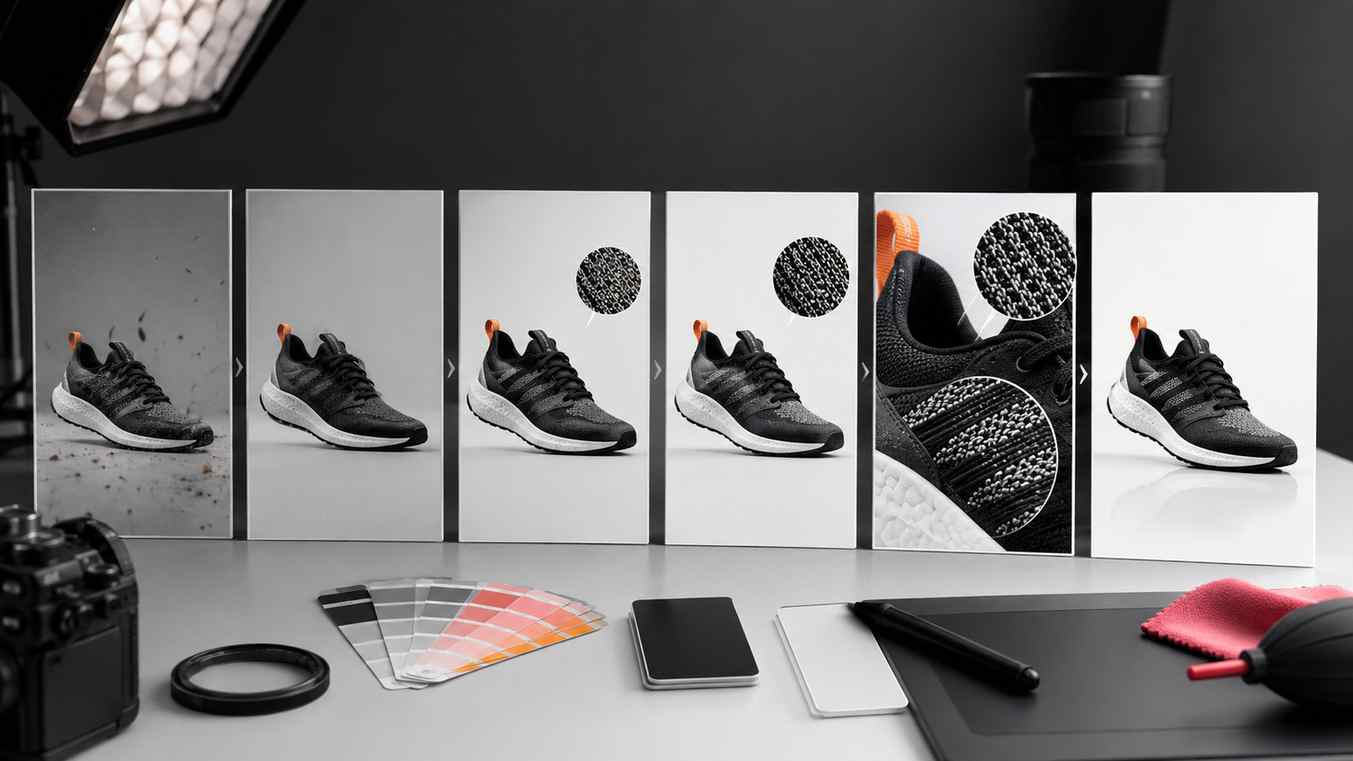
Step 1: Start with the best source image
Choose the largest and clearest version of the image you have. Avoid using screenshots of images when you can use the original file. The better the source image, the better the upscaled result.
Step 2: Clean distractions before upscaling
If there are unwanted objects, background clutter, dust, or small marks, clean them before creating a larger version. Upscaling can make imperfections easier to see, so cleanup should usually happen first.
Step 3: Enhance the image if it looks dull
If the photo is dark, flat, or low-contrast, use AI enhancement before upscaling. This can improve clarity, lighting, and detail so the upscaler has a cleaner image to work with.
Step 4: Upscale the image
Use an AI image upscaler to increase the resolution. After the process finishes, review the result at full size. Do not only look at the small preview, because small previews can hide artifacts.
Step 5: Export based on where the image will be used
Choose the final format based on the destination. Use JPG or WebP for most web images, PNG when transparency is needed, and larger exports when the image will be used in wide website sections or high-detail layouts.
Before and after: what changes after AI upscaling?
Upscaling mainly improves size and perceived detail. A small image that looked acceptable as a thumbnail may become more usable in a larger layout after AI upscaling.
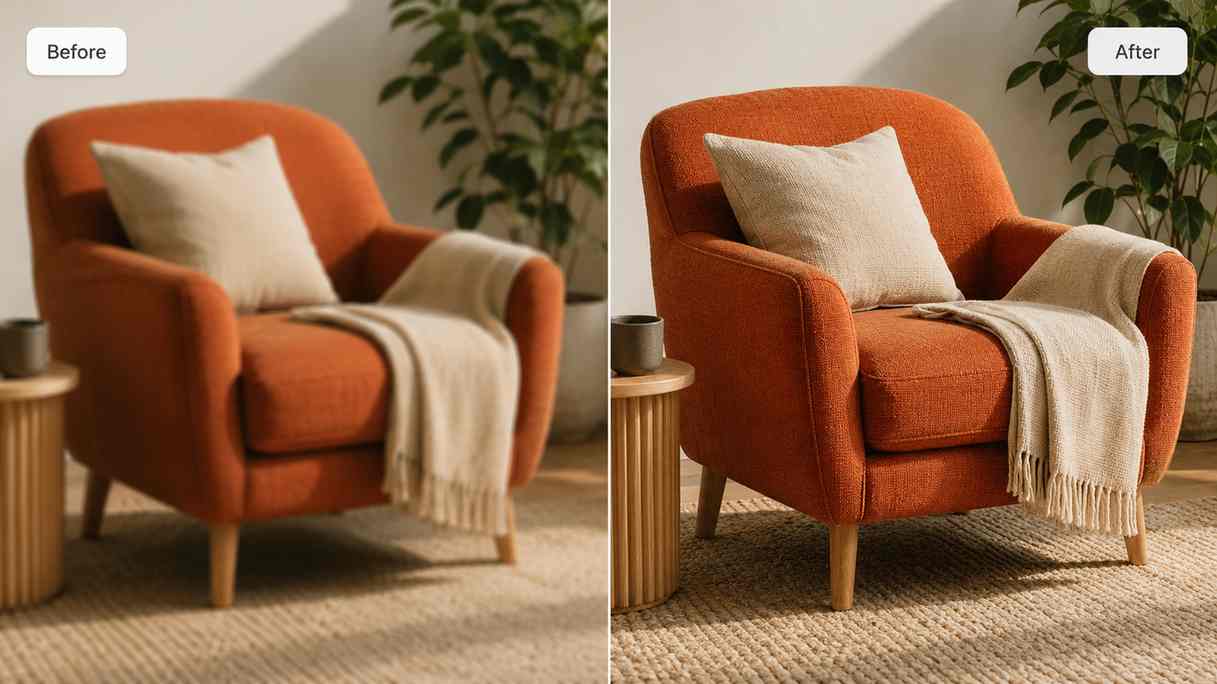
| Before upscaling | After upscaling |
|---|---|
| Image may look small or soft | Image can be exported at a larger size |
| Details may not hold up in larger layouts | Edges and textures can look clearer |
| Website sections may look less professional | Visuals can feel sharper and more polished |
| Product zoom may feel limited | Product details may be easier to inspect |
| Ads may appear low-quality on some placements | Campaign visuals can be prepared in more sizes |
Best use cases for AI image upscaling
AI upscaling is especially useful when you need to reuse one good image across several placements. A product image, creator photo, or campaign visual may need different sizes for a website, ad, social post, email, and landing page.
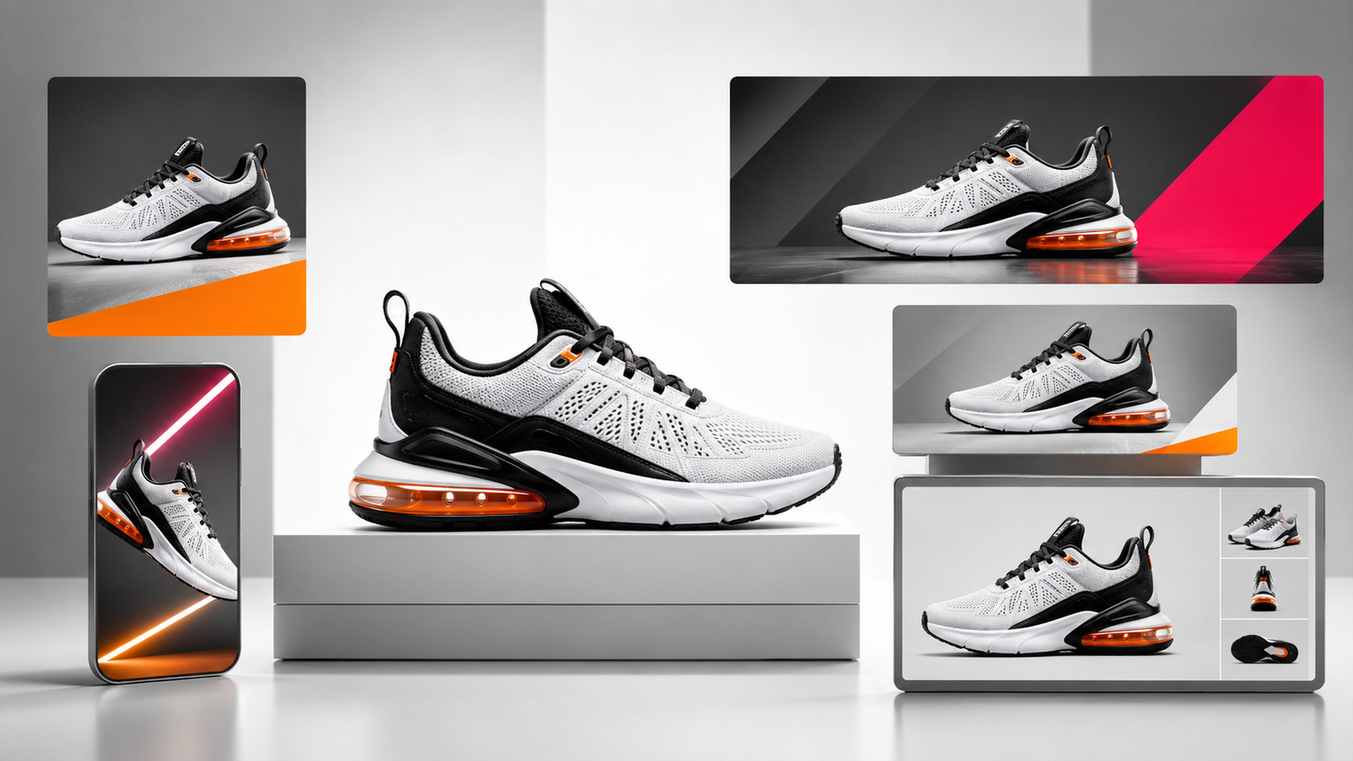
Ecommerce product images
Product images need enough detail for shoppers to inspect the item. Upscaling can help when your original product photo is too small for a gallery, zoom view, or marketplace layout. For best results, clean the background and remove distractions before upscaling.
Website hero images
Hero images are usually large and wide. If you use a small image, it can look blurry on desktop screens. Upscaling helps prepare a larger version that feels sharper and more professional.
Social media and thumbnails
Social content is often viewed quickly, but image clarity still matters. Upscaling can help sharpen creator photos, thumbnails, lifestyle images, and campaign visuals before posting.
Marketing and ad creatives
Marketing teams often need multiple sizes from the same visual. A higher-resolution base image gives you more flexibility when cropping for ads, banners, emails, and landing pages.
AI upscaling vs AI enhancement
AI upscaling and AI enhancement are often used together, but they solve different problems.
| Tool | Main job | Use it when |
|---|---|---|
| AI image enhancer | Improves clarity, lighting, contrast, and detail | The photo looks dull, dark, soft, or flat |
| AI image upscaler | Increases resolution and output size | The image is too small for the final placement |
A practical order is: remove distractions, enhance the image, then upscale it. This gives you a cleaner image before making it larger.
Common mistakes when upscaling images
Upscaling can improve many images, but these mistakes can hurt the final result:
- Upscaling a bad source image: Start with the clearest original file you have.
- Skipping cleanup: Dust, clutter, and artifacts can become more visible after upscaling.
- Overusing enhancement: Too much sharpness can make the image look harsh or artificial.
- Ignoring file size: Large images can slow down website pages if they are not compressed properly.
- Using the wrong format: PNG is not always best for web pages unless transparency is required.
- Not checking the final placement: Review the image where it will actually be used.
Best export formats after upscaling
| Format | Best for | Notes |
|---|---|---|
| JPG | Product pages, blog images, landing pages | Good balance between quality and file size |
| WebP | Modern websites and optimized pages | Often smaller than JPG while keeping strong quality |
| PNG | Transparent images and design assets | Useful when the image needs transparency |
How PixEdit helps upscale and improve images
PixEdit gives you focused AI tools to prepare cleaner, sharper visuals. You can use object removal to clean distractions, AI enhancement to improve clarity, image upscaling to create larger exports, and background removal when you need product cutouts or transparent assets.
This workflow is useful for ecommerce sellers, creators, marketers, website owners, and teams that need polished images without spending time on repetitive manual editing.
Final thoughts
AI image upscaling is most useful when you need a larger version of an image that still looks clean. Start with the best source file, clean distractions, enhance the image if needed, upscale carefully, and export in the right format.
A sharper image can make product pages, websites, ads, and social posts feel more professional. The key is to upscale with purpose, not just make every image bigger.
PixEdit workflow