

How to Remove Backgrounds from Product Photos for Cleaner Ecommerce Images
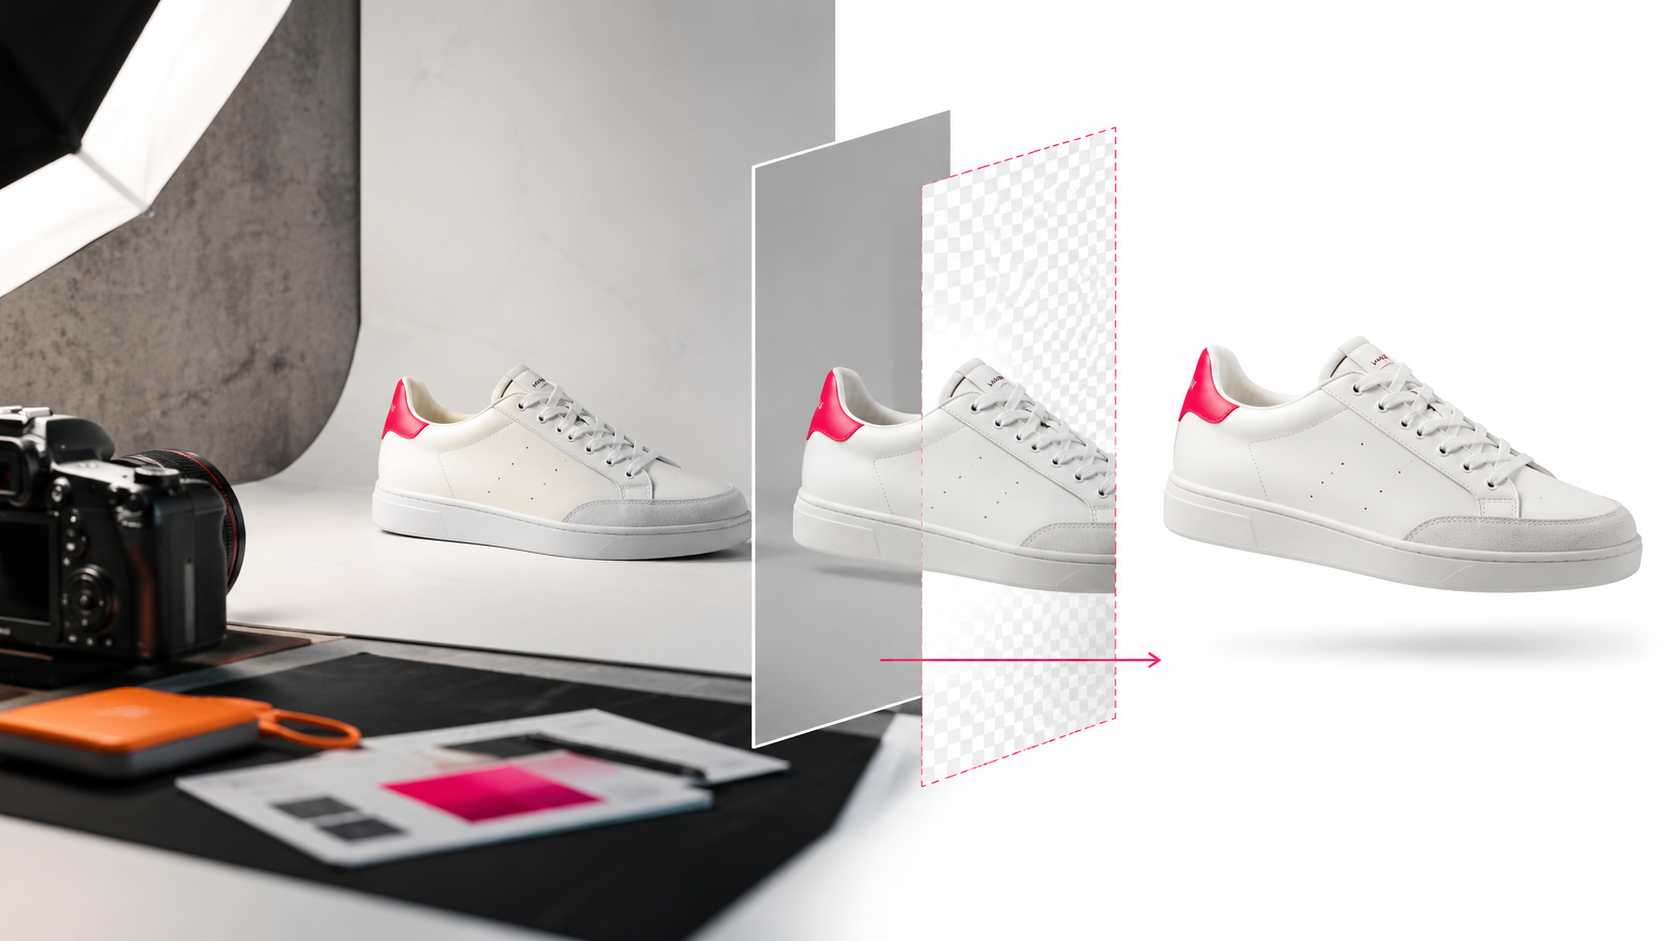
Clean product photos help shoppers focus on what matters: the product. This guide shows how background removal fits into a simple ecommerce photo editing workflow, from raw image to publish-ready asset.
In this article
Quick checklist
Product photos are one of the most important parts of an ecommerce page. A clear image can make a product look more trustworthy, easier to understand, and more ready to buy. But even a good product can look less professional when the background is messy, dark, inconsistent, or distracting.
That is where background removal becomes useful. By removing the original background, you can place the product on a clean white background, a transparent canvas, a branded layout, or a campaign-style scene. This makes one product photo easier to reuse across your store, ads, social media, and catalogs.
Why remove backgrounds from product photos?
Background removal is not just a design trick. For ecommerce, it solves several practical problems.
- Cleaner product focus: Shoppers can see the item clearly without background distractions.
- More consistent catalog pages: Products look like they belong to the same brand or collection.
- Faster content creation: One cutout can be reused for product pages, ads, banners, and social posts.
- Flexible exports: You can create white-background JPGs, transparent PNGs, or campaign visuals from the same product image.
- Better mobile viewing: Clean product images are easier to understand on small screens.
When should you use a white background?
A white background is one of the safest choices for ecommerce product photos. It keeps the product clear, simple, and easy to compare with other items. It is especially useful for marketplaces, product grids, catalog pages, and product detail pages.
White backgrounds work well for shoes, bags, clothing, accessories, packaging, beauty products, home goods, electronics, and many other product types. They reduce visual noise and help the product feel more professional.
However, white is not always the only option. For ads, landing pages, and social posts, you may want a warmer background, a lifestyle scene, or a branded color. The best workflow is to create a clean product cutout first, then choose the right background for each destination.
A simple workflow for product photo background removal
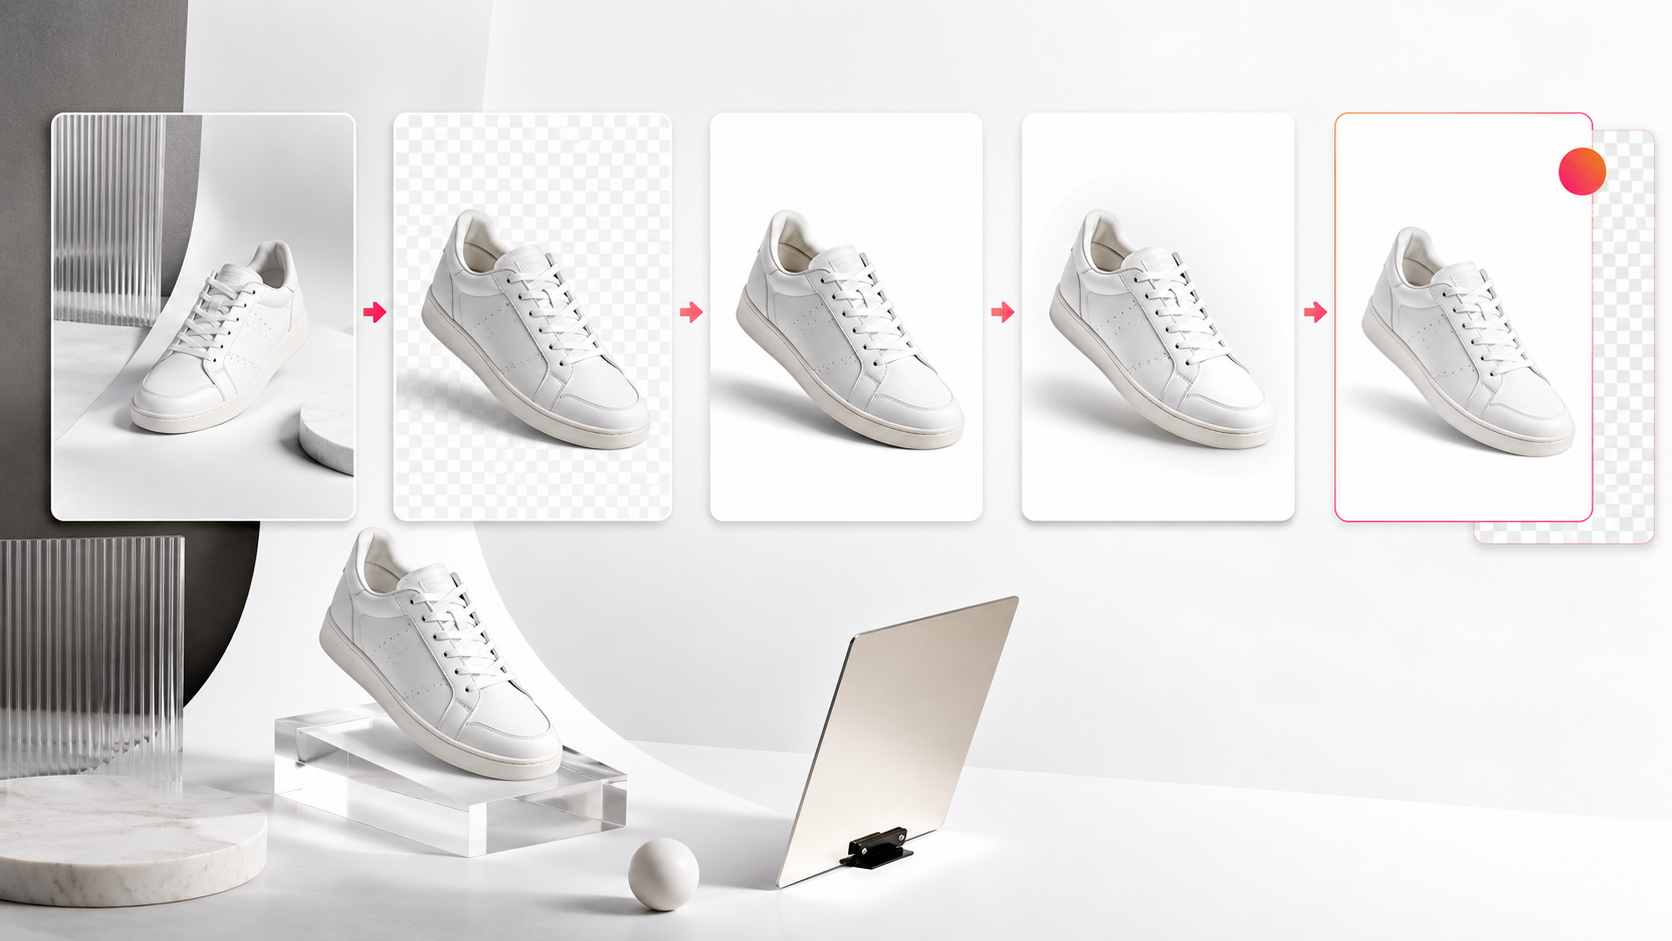
The best results usually come from a repeatable workflow. You do not need to over-edit every image. Start with a clean process and review the final image before publishing.
Step 1: Start with the clearest product photo
Choose a photo where the full product is visible and not heavily blurred. The product should have enough contrast from the background so the AI can detect the subject more accurately. Natural lighting or soft studio lighting usually works better than harsh shadows.
Step 2: Remove the background
Use an AI background remover to separate the product from the original scene. A good result should keep the product shape, edges, and important details intact. For products with thin straps, handles, glass, soft fabric, or reflective surfaces, zoom in and review the edges carefully.
Step 3: Clean small distractions
After removing the background, check the product itself. There may be small marks, dust, wrinkles, reflections, or background leftovers around the edges. Use object removal or cleanup tools to remove anything that makes the image look less polished.
Step 4: Improve lighting and detail
Use AI enhancement carefully. The goal is to make the product look clearer, not fake. Improve brightness, sharpness, and contrast, but avoid changing the true product color. For ecommerce, color accuracy matters because buyers expect the real item to match the photo.
Step 5: Export the right format
Use PNG when you need a transparent background. Use JPG or WebP when you need smaller files for product pages and marketing assets. If you need a marketplace-ready image, a clean white background JPG is often the most practical export.
Before and after: what changes after background removal?
A product photo with a busy background can still show the item, but it may not look ready for an online store. Removing the background gives the image a cleaner structure and makes the product easier to reuse.

| Before background removal | After background removal |
|---|---|
| Background may distract from the product | Product becomes the main focus |
| Images from different shoots may look inconsistent | Catalog pages feel cleaner and more uniform |
| Harder to reuse in ads or banners | Product cutout can be placed on multiple layouts |
| Lighting and shadows may look uneven | Final image can be cleaned and enhanced |
| Not always suitable for marketplace-style pages | Can be exported with a white or transparent background |
Common mistakes to avoid
Background removal is fast, but the final image still needs a quick quality check. Watch out for these common problems:
- Rough edges: Check handles, hair-like details, fabric, glass, and product corners.
- Missing product parts: Make sure the AI did not remove thin straps, cords, shadows, or transparent areas by mistake.
- Over-enhancement: Do not make the product color, texture, or shape look different from the real item.
- Wrong file type: Do not use JPG when you need transparency. Use PNG for transparent product assets.
- No shadow control: A product can look flat if the background is removed but no natural grounding shadow remains.
Best image formats for product photos
The right format depends on where the image will be used.
| Format | Best for | Notes |
|---|---|---|
| PNG | Transparent product cutouts | Useful for design, ads, banners, and reusable assets |
| JPG | Product pages and marketplace images | Good for smaller file sizes when transparency is not needed |
| WebP | Modern web pages | Often lighter than JPG or PNG while keeping good quality |
How PixEdit helps with product photo background removal
PixEdit helps you turn raw product images into cleaner ecommerce visuals with focused AI tools. You can start with background removal, clean distractions with object removal, improve the final image with AI enhancement, and make larger exports with image upscaling.
This workflow is useful for online sellers, small brands, creators, marketplace listings, product catalogs, social ads, and landing pages. Instead of editing every product photo manually, you can create a repeatable process that keeps your visuals clean and consistent.
Final checklist before publishing
Before uploading your product image to a store or campaign, review the final asset at the size where shoppers will actually see it. A product photo should look clear on desktop, but it also needs to work on mobile product grids and small ad placements.
Clean background removal is not about making every photo look the same. It is about making every product easier to see, compare, and trust.
PixEdit workflow