

A Simple Product Photo Editing Workflow for Ecommerce Images
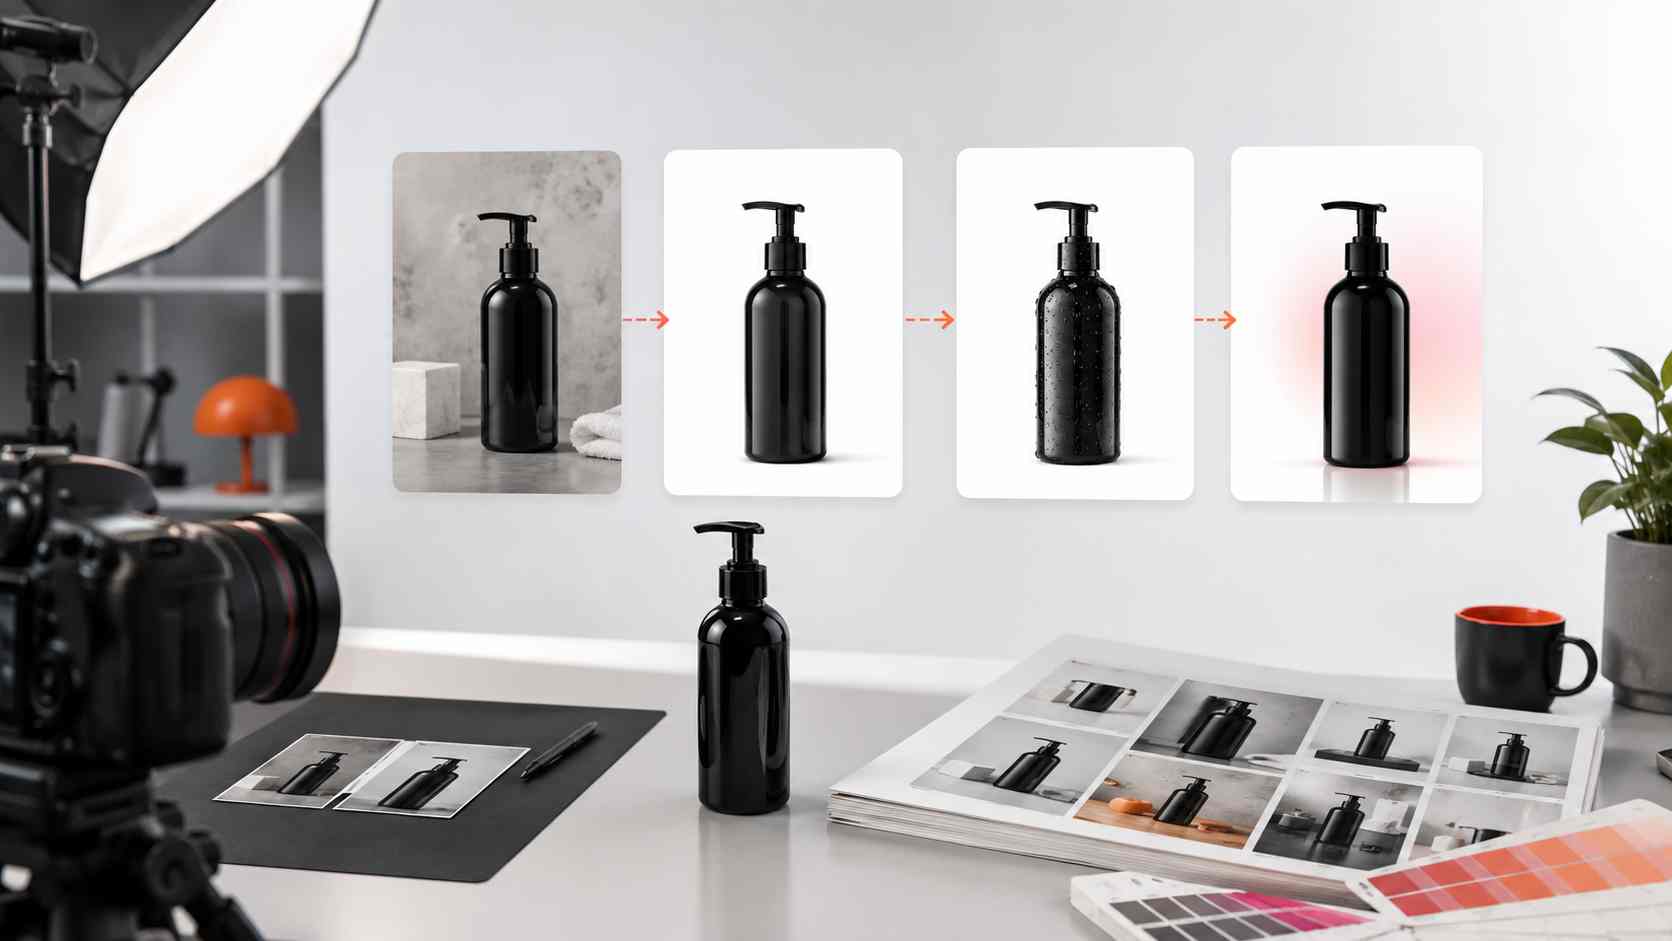
Great ecommerce images do not happen by accident. This guide gives you a practical product photo editing workflow to create cleaner, more consistent, and more publish-ready visuals for online stores.
In this article
Quick checklist
Product photos are one of the first things shoppers notice on an ecommerce page. Before they read the description, compare sizes, or check the price, they look at the image. If the photo is dark, cluttered, blurry, inconsistent, or hard to understand, the product can feel less trustworthy.
A strong product photo editing workflow helps you turn raw images into cleaner ecommerce visuals. The goal is not to over-edit the product. The goal is to make the product clear, accurate, consistent, and ready for product pages, category grids, ads, and social content.
Why product photo editing needs a workflow
Editing product photos one by one without a process can create inconsistent results. One product may have a white background, another may have a gray shadow, another may look too warm, and another may be cropped too tightly. Even if each image looks acceptable alone, the full product grid can feel messy.
A workflow keeps your editing decisions consistent. It helps you know what to fix first, what to review, and how to export the final image for the right destination.
What makes a good ecommerce product image?
A good ecommerce product image should be clear, accurate, and easy to inspect. It should help shoppers understand the item quickly without distractions.
- Clear subject: The product should be easy to see at a glance.
- Clean background: The background should not distract from the item.
- Accurate color: The image should represent the real product as closely as possible.
- Consistent crop: Products in the same category should feel balanced together.
- Enough detail: Shoppers should be able to inspect texture, shape, and features.
- Optimized export: The image should look good without slowing down the page.
A simple product photo editing workflow
This workflow works for most ecommerce product images, especially if you need clean store visuals without spending too much time on manual editing.

Step 1: Choose the best source image
Start with the clearest product photo available. The product should be fully visible, not heavily blurred, and not cut off at the edges. If you have multiple shots, choose the one with the best product shape, lighting, and angle.
AI editing can improve many things, but it works better when the source photo already has enough visible detail. A better source image usually means a better final image.
Step 2: Remove the background
Background removal is often the first major editing step. It isolates the product from tables, walls, floors, rooms, props, or messy surroundings. Once the product is separated, you can place it on a white background, transparent background, or campaign layout.
After removing the background, zoom in and check the product edges. Pay attention to handles, straps, cables, transparent materials, fabric, packaging corners, and reflective surfaces.
Step 3: Clean unwanted objects and marks
Next, clean small distractions. This can include dust, marks, background fragments, small props, wrinkles, reflections, or anything that makes the image look less polished. Use object removal carefully and avoid removing real product details that customers need to see.
For ecommerce, accuracy matters. Cleanup should make the image cleaner, not change what the product actually is.
Step 4: Place the product on the right background
For product pages and category grids, a white background is often the safest choice. It keeps the product clear and helps the catalog feel consistent. For ads, banners, and social media, you may want a branded background, lifestyle scene, or transparent PNG cutout.
The best approach is to create a clean product cutout first. From there, you can make different versions for different channels.
Step 5: Enhance image quality
Use AI enhancement to improve brightness, clarity, contrast, and sharpness. Keep the edit realistic. A product photo should look polished, but it should not misrepresent the product color, texture, size, or material.
Check the image after enhancement. If the product color looks too different from the real item, reduce the effect or choose a more natural result.
Step 6: Upscale when the image needs a larger export
If the image will be used in a large website section, product zoom view, ad creative, or presentation, use image upscaling after cleanup and enhancement. Upscaling helps create a larger version that can hold more detail in bigger placements.
Do not upscale too early. Clean and enhance the image first, then upscale the final version.
Step 7: Export for the destination
Choose the export format based on where the image will be used. JPG or WebP works well for most product pages because they can keep good quality with smaller file sizes. PNG is useful for transparent product cutouts and design assets.
Before and after: what a workflow improves
A raw product photo may contain the right product, but still need background cleanup, better lighting, sharper details, and a more consistent crop. A workflow helps you improve these areas in the right order.
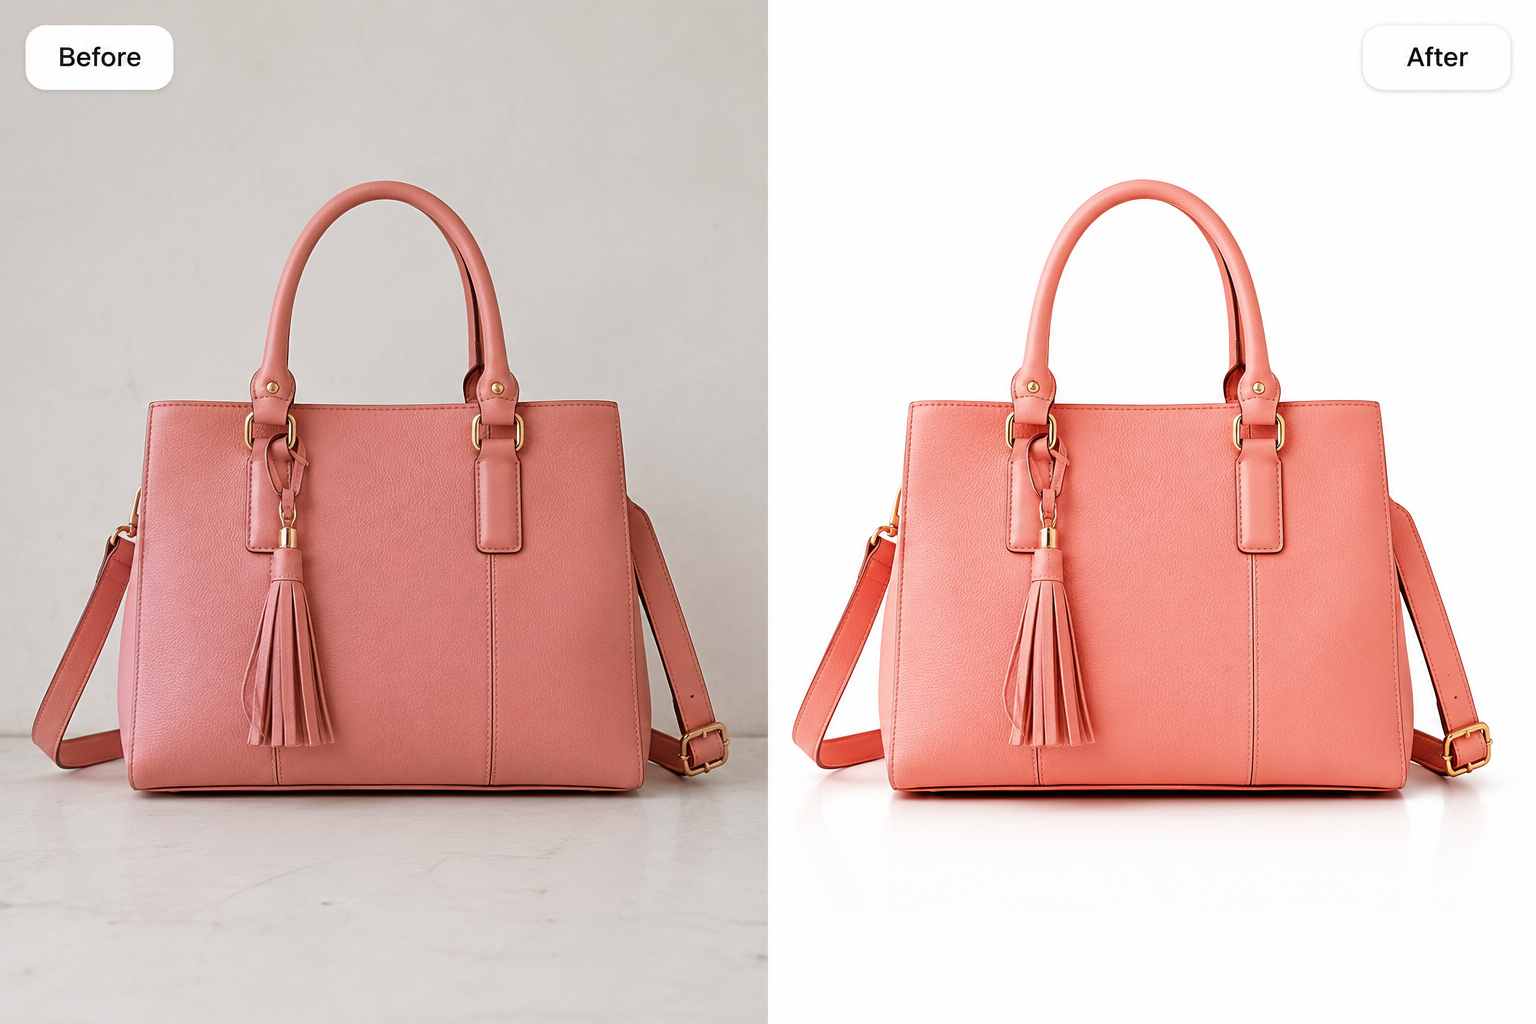
| Raw product photo | Edited ecommerce image |
|---|---|
| Background may feel messy or inconsistent | Product appears on a clean, controlled background |
| Small marks or distractions may remain | Image looks more polished and store-ready |
| Lighting may be dull or uneven | Product looks clearer and easier to inspect |
| Product grid may feel unorganized | Images feel more consistent together |
| Image may be too small for some placements | Upscaled export can support larger layouts |
How to keep your product grid consistent
Product images do not only need to look good individually. They also need to look good together. A clean product grid can make an online store feel more organized and easier to shop.

Use similar background styles
If most products use a white background, keep that style consistent across the catalog. Avoid mixing random room backgrounds, table surfaces, and lighting styles unless there is a clear design reason.
Keep product size balanced
Products in a grid should feel similar in scale. If one item fills the whole frame and another looks tiny, the page can feel uneven. Use consistent spacing and crop rules for similar product types.
Review colors carefully
Enhancement can make photos look better, but product colors should remain accurate. This is especially important for clothing, cosmetics, furniture, accessories, and anything where color affects buying decisions.
Optimize file size
Large product images can slow down ecommerce pages. Compress images and use modern formats where possible. The goal is to keep visuals sharp without hurting page speed.
Recommended editing order
| Order | Editing step | Why it matters |
|---|---|---|
| 1 | Choose source image | Better input creates better final results |
| 2 | Remove background | Separates the product from distractions |
| 3 | Clean objects and marks | Removes dust, clutter, and small issues |
| 4 | Add white or transparent background | Prepares the image for ecommerce or design use |
| 5 | Enhance image quality | Improves clarity, lighting, and detail |
| 6 | Upscale if needed | Creates larger exports for bigger placements |
| 7 | Export and compress | Keeps the image useful and web-friendly |
Common product photo editing mistakes
Even simple edits can create problems if they are not reviewed carefully. Watch for these common issues:
- Removing important product parts during background removal.
- Leaving rough edges or background fragments around the product.
- Over-enhancing colors until the product looks inaccurate.
- Using different crop sizes across similar product images.
- Exporting huge files that slow down product pages.
- Using JPG when you need a transparent product cutout.
- Skipping mobile review before publishing.
Best export formats for product photos
| Format | Best for | Notes |
|---|---|---|
| JPG | Product pages, catalog images, marketplace listings | Good quality and practical file size |
| WebP | Optimized ecommerce websites | Often smaller than JPG while keeping strong visual quality |
| PNG | Transparent product cutouts and reusable design assets | Supports transparency but can be heavier |
How PixEdit helps with ecommerce photo editing
PixEdit gives you focused AI tools for each part of the ecommerce photo editing workflow. You can start with background removal, clean details with object removal, improve image quality with AI enhancement, prepare larger exports with image upscaling, and use AI fill when you need new layouts for campaigns or social media.
This makes PixEdit useful for ecommerce sellers, small brands, marketplace listings, product catalogs, social ads, website visuals, and content teams that need cleaner product images without spending hours on manual editing.
Final thoughts
A good product photo editing workflow helps your store look more professional and consistent. Start with the best source image, remove the background, clean distractions, place the product on the right background, enhance carefully, upscale when needed, and export in the right format.
When product images are clear and consistent, shoppers can focus on the item instead of the photo quality. That is the real goal of ecommerce photo editing.
PixEdit workflow